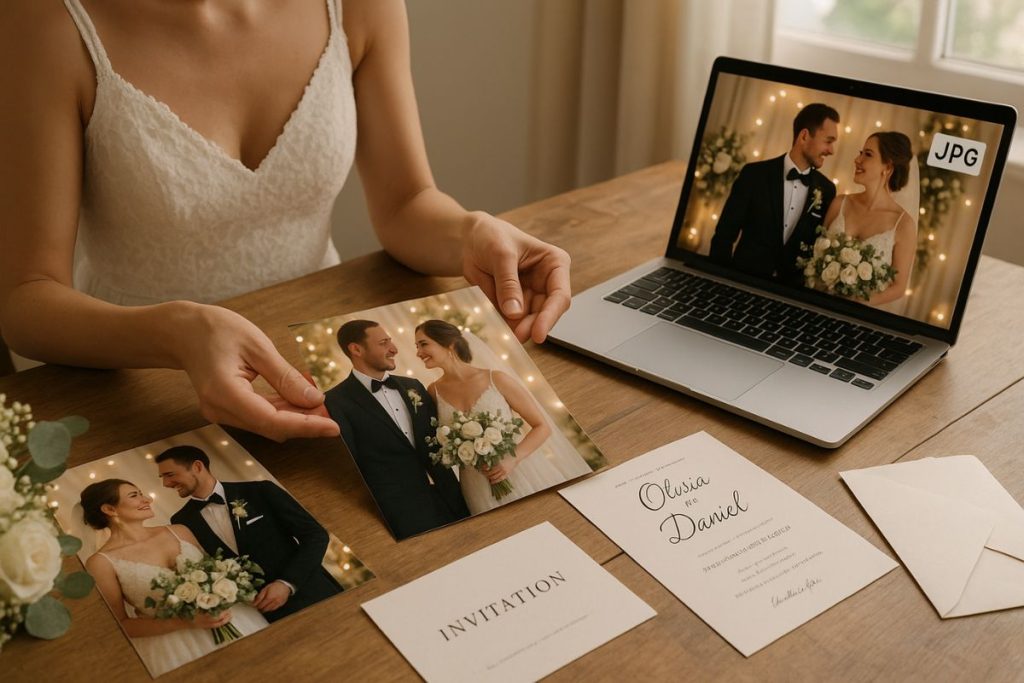
A beautiful photo can bring an invitation to life. Whether it’s a couple’s portrait, a candid moment, or a scenic shot from the ceremony, images help tell your love story in a way that words can’t always capture. But before a photo makes its way onto an invitation, it often needs to be in the right format. That’s where JPG comes in.
Many wedding photos today are taken on smartphones or high-resolution cameras that use newer formats like HEIC or RAW. While these formats look great and save space, they aren’t always compatible with invitation design tools, printing services, or email sharing. That’s why knowing how to convert wedding photos to JPG for invitations can save time and avoid frustration.
Why JPG Format Works Well for Invitations
JPG (or JPEG) is one of the most widely accepted image formats for both web and print. It’s known for its ability to compress file sizes without losing too much image quality. This makes it ideal for invitations, which often need to balance detail with printability.
JPG files are easy to resize and insert into templates, whether you’re creating flat cards, folded designs, or digital invitations. Most printing services request JPGs because they work smoothly with layout software and can be printed without extra conversion steps.
If your photos are in a format like HEIC (common on iPhones) or RAW (used by professional cameras), those formats are not ideal for direct use in invitation design. You’ll need to convert them first.
How to Tell What Format Your Photo Is In
Before making any changes, check the file type of your wedding photo. On a computer, this is often shown in the file name. For example, if the name ends in .jpg or .jpeg, it’s already in the right format. If you see .heic, .png, .tiff, or .raw, the photo will need to be converted.
If you’re working on a smartphone, tap the photo and look at the details or information panel. Some devices store photos in HEIC format by default to save space, especially with newer models.
Knowing the original format helps you choose the right tool and method to convert without losing the quality you need.
Easy Ways to Convert on a Computer
If you have access to a computer, converting photos is simple and quick. On a Mac, just open the photo in Preview, go to File > Export, and choose JPG as the format. Adjust the quality if needed, then save.
On Windows, right-click the photo and open it with Paint. From there, click File > Save As and choose JPG. You can also use free tools like IrfanView or web-based services for batch conversions.
For those working with HEIC files from an iPhone, using a web tool like “Convert heic to jpg” can be helpful. These sites allow you to upload one or several files and get JPG versions in seconds. They’re ideal for couples who don’t want to download extra software.
Converting on a Phone or Tablet
If you’re working directly from your phone, there are apps that can handle the conversion easily. For iOS users, apps like “HEIC to JPEG” or “Image Converter” are simple to use. Open the app, select your photos, and save them as JPGs to your camera roll or files app.
Android users can find similar apps on the Play Store. Many photo editing apps also allow you to save copies in different formats after editing. Just make sure the app you choose doesn’t reduce resolution too much.
Once your photo is saved as a JPG, it’s ready for use in your favorite design or printing tool.
Making Sure the Quality Stays High
When converting, always check the resolution of your final JPG. For print invitations, you want a minimum of 300 DPI (dots per inch) and a resolution that matches the size of the card. If the image is too small, it may look blurry or pixelated when printed.
Try to avoid converting the same photo multiple times. Each conversion can reduce the quality slightly, especially if the file is compressed. Work from the original version whenever possible and make a fresh JPG from that.
If your original photo is very large, you can resize it after converting. Most photo tools let you crop or scale the image down without changing the format.
Using Converted Photos in Invitation Designs
Once your photo is ready, it’s easy to add it to your invitation design. Whether you’re working with a professional designer, an online design platform, or DIY software like Canva or Adobe Express, JPG is supported everywhere.
Position the photo where you want it on the invitation—front and center, as a background, or tucked into a collage. Make sure text is still easy to read and that the photo feels balanced with the other elements.
If you’re printing at home, do a test print first. This helps you check color accuracy and photo placement before running a full batch. If you’re using a print service, follow their upload instructions to make sure the file is accepted without issues.
Saving and Sharing Final Files
Once your invitation is complete, save a copy in its original format (usually PDF or high-quality JPG) and also keep the photo you used. That way, you can make updates later or use the image for matching items like thank-you cards, menus, or wedding programs.
It’s also helpful to store your converted JPGs in a cloud folder. That makes it easy to share with your partner, planner, or anyone helping with the event. You can also send the files to your printer or designer without worrying about compatibility issues.
A Smooth Step Toward a Beautiful Design
Converting wedding photos to JPG is a small but important step when creating meaningful invitations. It helps make sure your images look their best, print clearly, and work seamlessly with design tools. Whether you’re working from a camera, phone, or tablet, having your images in the right format keeps your creative process moving forward.
When you’re ready to bring your design to life, a clean JPG gives you the flexibility to focus on the beauty of the moment, not the stress of file formats.